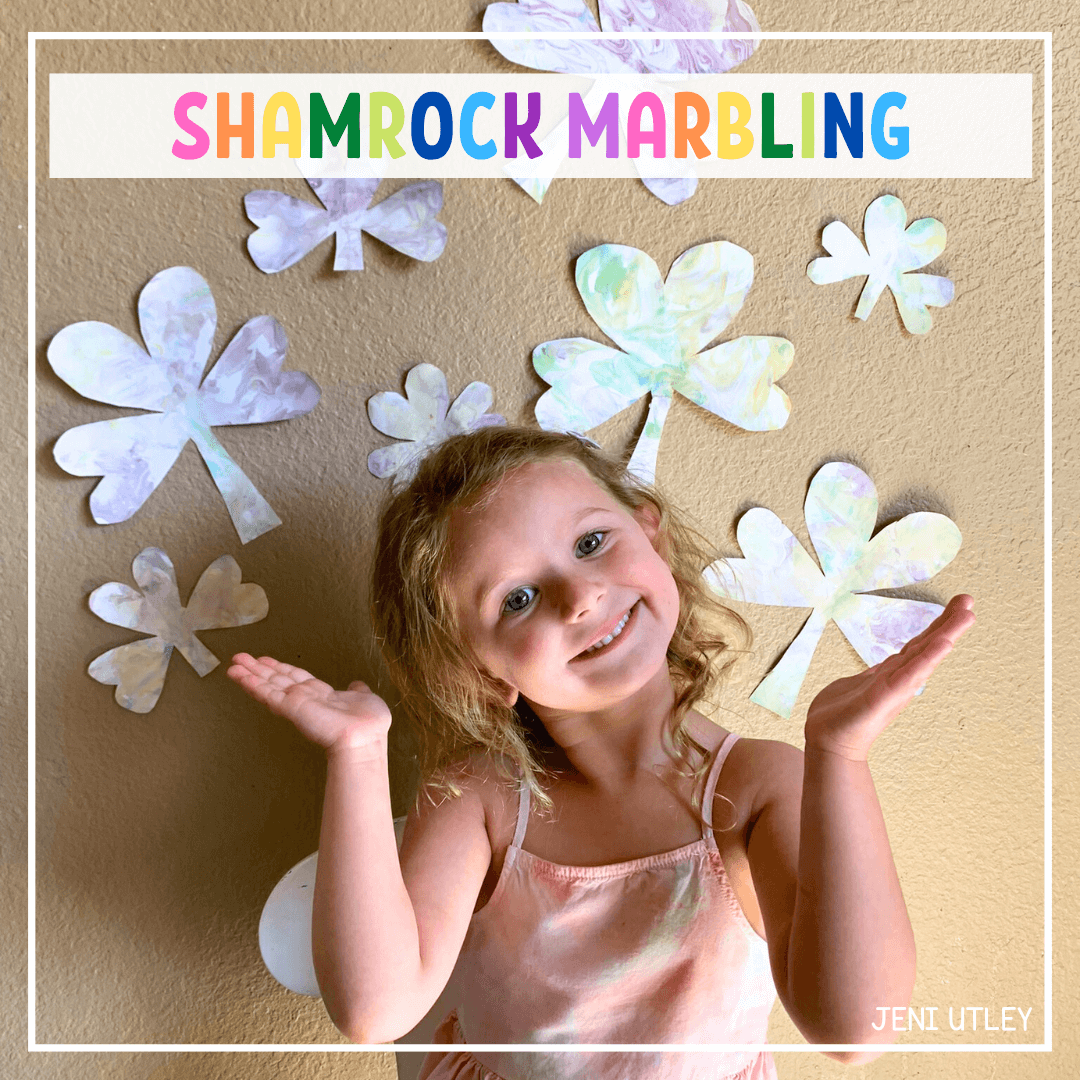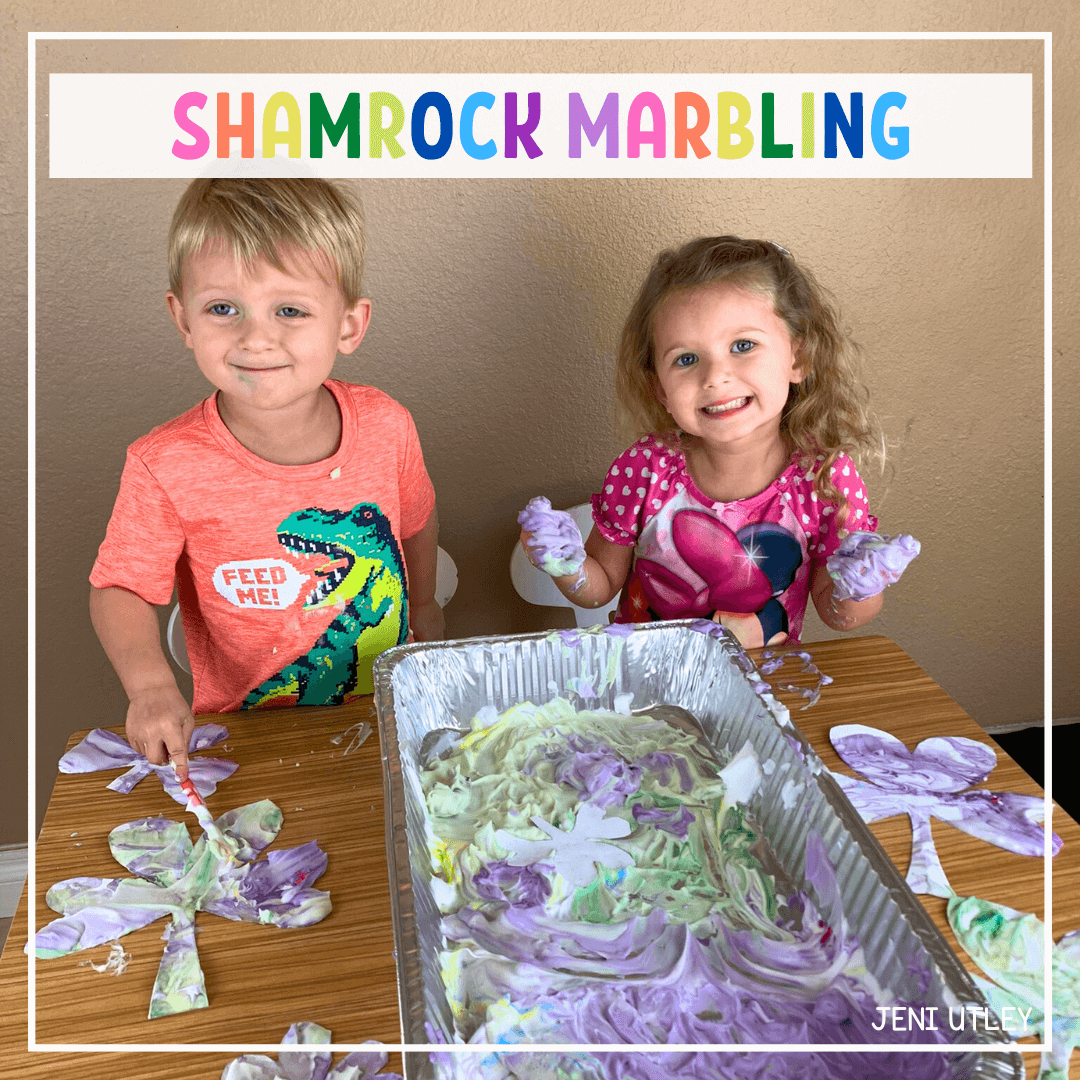
St. Patrick’s Day is the perfect time to add a little magic to your preschooler’s day with a fun and creative art project! This Marbled Shamrock Art activity combines sensory play with a beautiful process-art technique that will leave your little one amazed. Using shaving cream and food coloring, your child can create stunning marbled shamrocks while enjoying a hands-on, messy, and engaging experience.
Why Preschoolers Will Love This Activity
- Messy fun – Shaving cream is a great sensory material that kids love to touch and swirl.
- Fine motor skills – Swirling the colors and pressing the paper helps strengthen little hands.
- Science meets art – Watching the colors mix and transfer onto the paper is a magical experiment!
- Easy prep & cleanup – A little mess is worth the beautiful outcome, and the cleanup is surprisingly simple.
Materials You’ll Need:
- White cardstock
- Scissors
- Shaving cream (foam, not gel)
- A shallow tray or baking dish
- Food coloring (green, yellow, and blue work well)
- A popsicle stick, skewer, or plastic knife for swirling
- A ruler or piece of cardboard to scrape off the shaving cream
- Paper towels for easy cleanup
Step-by-Step Instructions:
- Prep the Paper – Before starting the messy fun, cut out shamrock shapes from white cardstock. If your preschooler is practicing scissor skills, let them help with simple shapes!
- Set Up the Shaving Cream – Squirt a generous layer of shaving cream into the shallow tray, spreading it out evenly with your hands or a spatula.
- Add Color – Drop food coloring onto the surface of the shaving cream. Try a mix of greens, yellows, and even a touch of blue for a festive St. Patrick’s Day look.
- Swirl the Colors – Use a popsicle stick, skewer, or even a cotton swab to gently swirl the colors around. Encourage your child to experiment with different patterns but avoid overmixing, or the colors will turn muddy.
- Press the Shamrock – Take a shamrock cutout and gently press it down onto the colorful shaving cream. Pat it lightly to make sure the paper picks up the swirled pattern.
- Lift and Scrape – Carefully lift the shamrock off the shaving cream and place it on a flat surface. Use a ruler, piece of cardboard, or the edge of a plastic knife to scrape off the excess shaving cream. The beautiful marbled pattern will be left behind!
- Let It Dry – Lay the shamrocks flat to dry. Once dry, they make perfect decorations for windows, St. Patrick’s Day cards, or a fun festive banner!

Ways to Extend the Fun:
- Color Mixing Experiment – Talk about how blue and yellow make green as you mix the food colors. Ask your preschooler what they think will happen before swirling!
- Texture Play – Let them explore the shaving cream with their hands before starting the project. It's a great sensory experience!
This Marbled Shamrock Art project is a fun way to celebrate St. Patrick’s Day while encouraging creativity, sensory exploration, and fine motor skills. It’s a hands-on activity that preschoolers will love—and the results are absolutely stunning!
Happy St. Patrick’s Day, and may the luck of the Irish be with you!
- Jeni
___________________
**ALL THINGS HOMESCHOOL PRESCHOOL**
Check out my PRESCHOOL CURRICULUM! This is where you get all of my unit studies, activities, tips, and more!!
FREEBIE: Preschool Curriculum Map!
Check out my website for blogs and freebies!
All of the products on this page are products my kids and I use and love or products I personally recommend!
All of the opinions expressed here are my own. With that said, this page contains affiliate links that, at no additional cost to you, I may earn a small commission.


0 Comments